BloomLine builds your shop profile for you by reading your own website. Instead of typing in your products, delivery zones, and story by hand, you paste one URL, click Scan my shop, and then simply review and correct what the scan found. Most shops are done in a few minutes.
Run the scan
- Go to the onboarding page (you land there from the Get started links, or from Add location in the sidebar if you already own a shop).
- Enter your shop's website address in the URL field, for example https://yourflowershop.com.
- Click Scan my shop. A live progress display shows what the scan is reading as it works through your site.
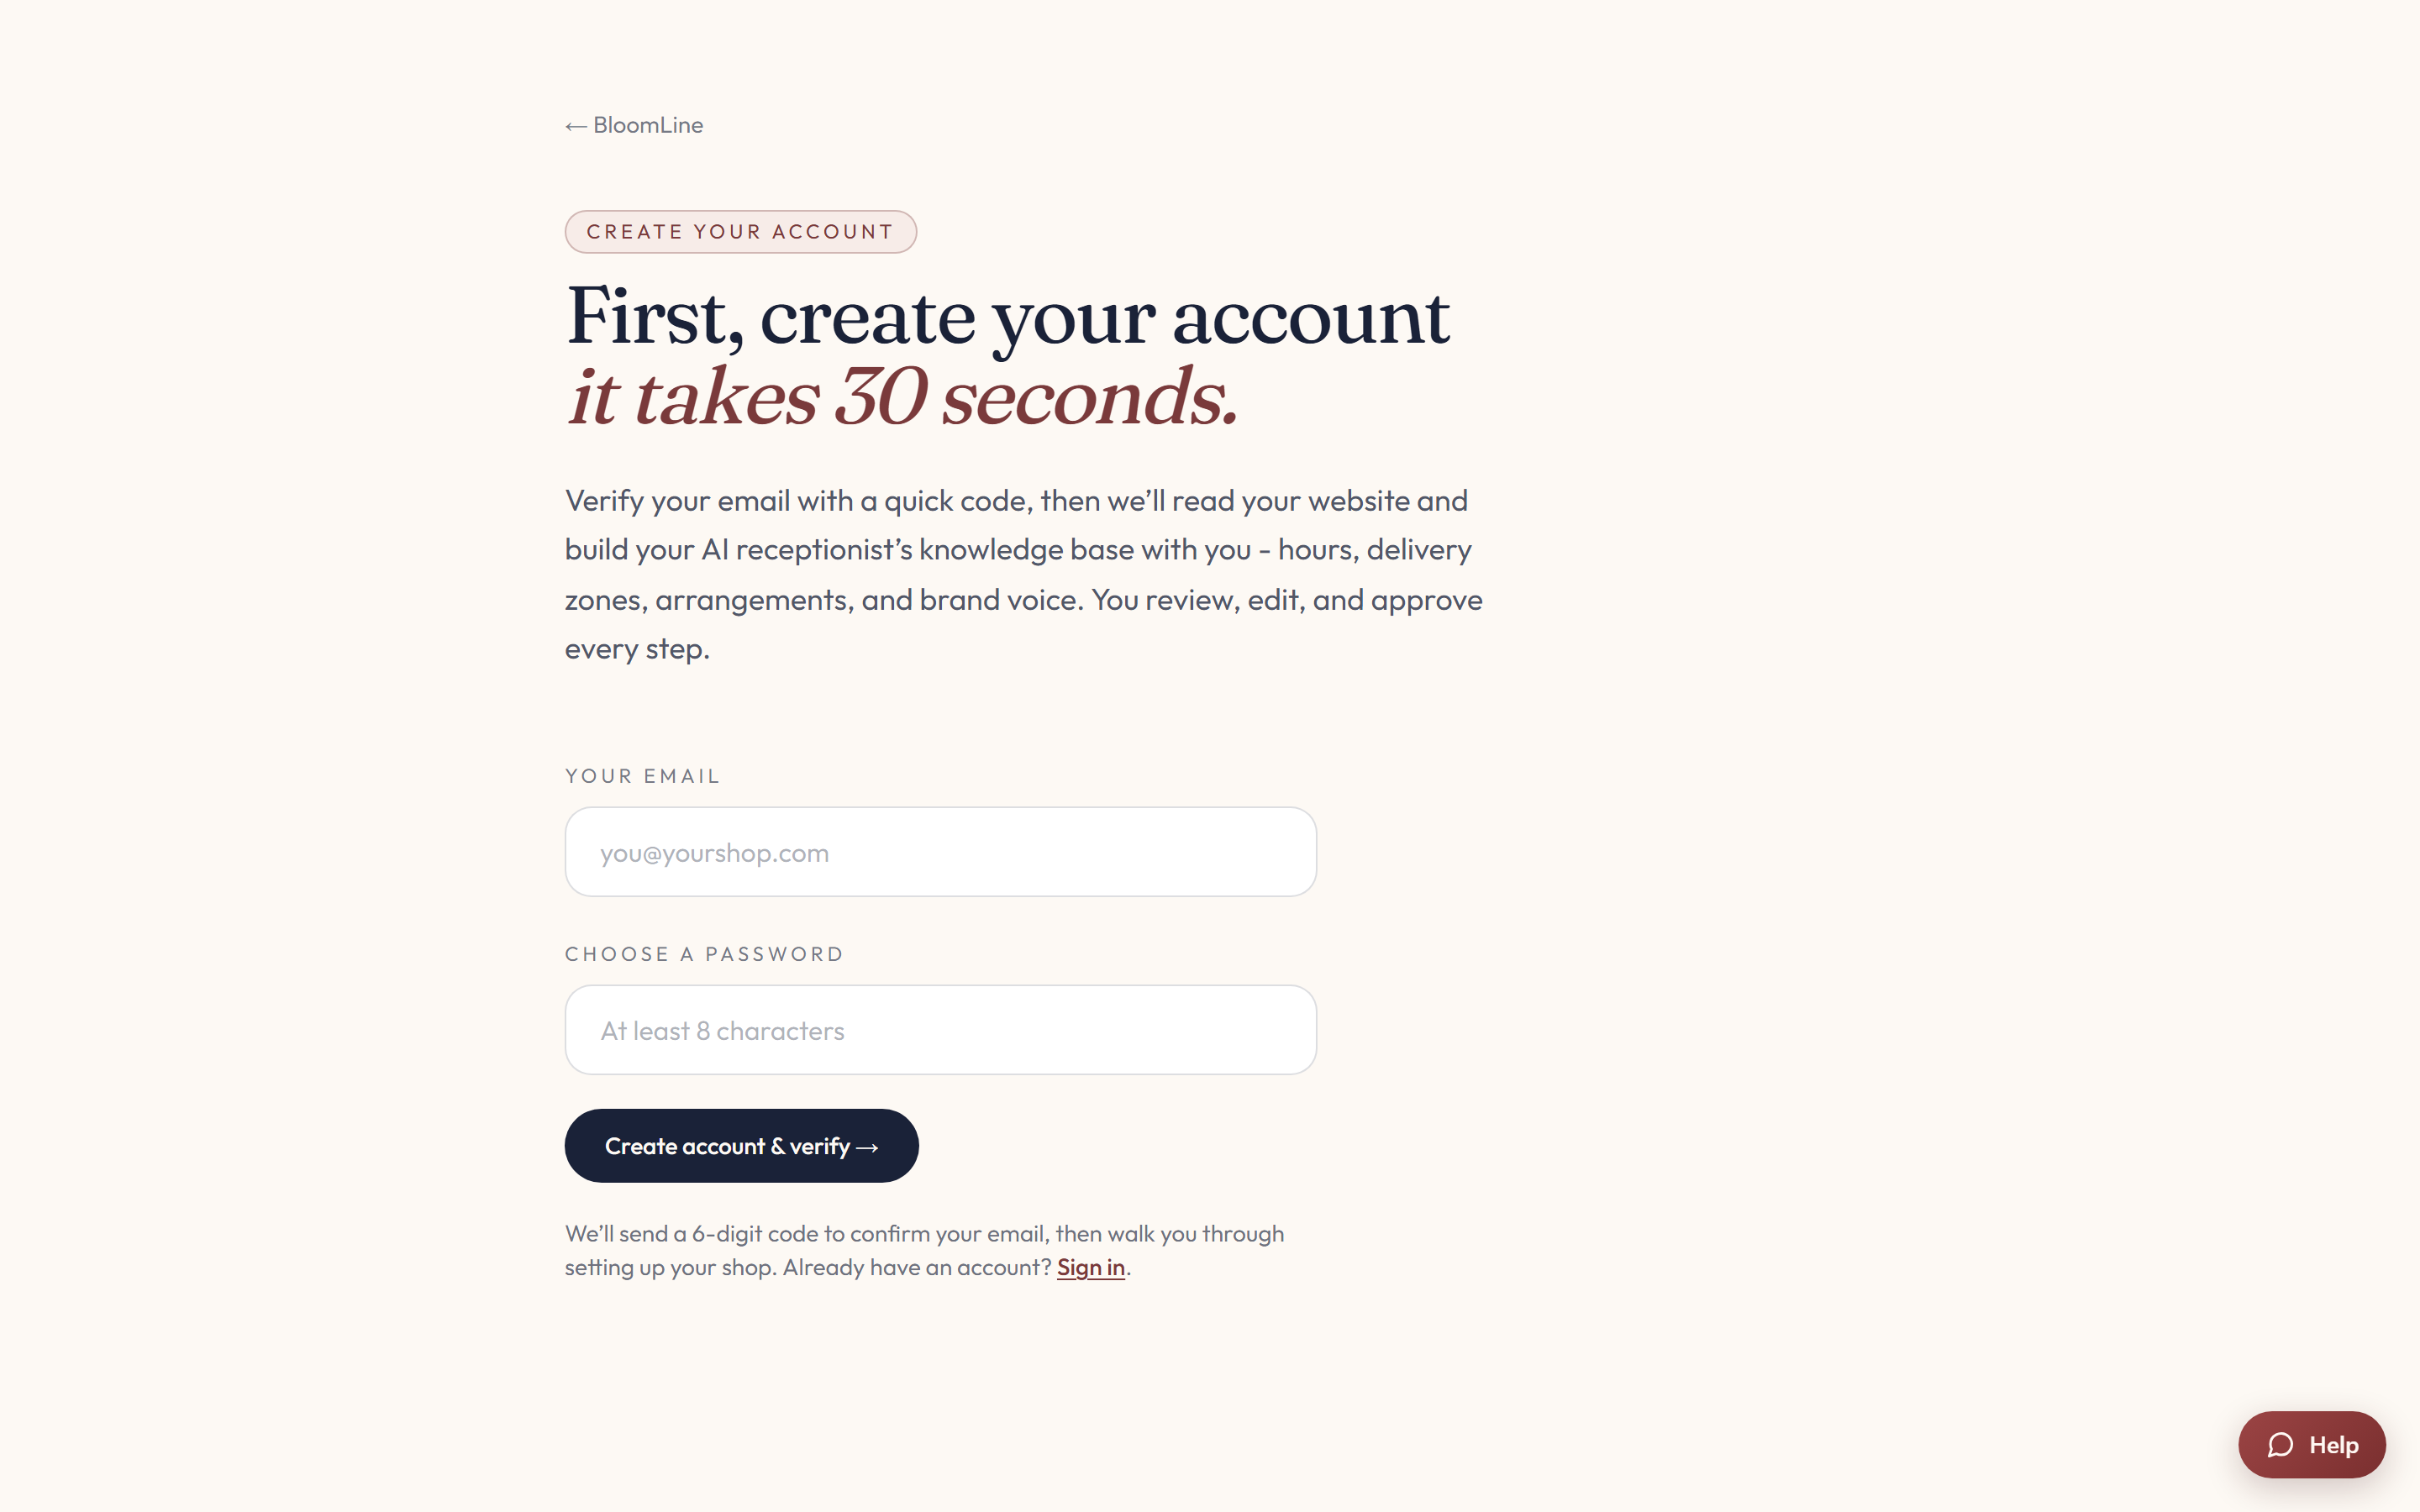
Review what the scan found
When the scan finishes you land on a review screen. Everything on it is editable - the scan gives you a strong first draft, and you make it exact:
- Shop name and brand voice: how Riley introduces the shop and the tone it speaks in.
- Emails: the you@ and orders@ addresses the scan detected.
- Delivery zones: editable rows with a Zone and a Fee. Add rows for areas the scan missed and remove any that are wrong - Riley quotes these fees on real calls, so make them right here.
- Products and services: editable rows with Name, Price, and Description. Fix prices the scan misread and delete anything you no longer sell.
- Specialty tags: tags like Wedding flowers, Sympathy, and Same-day delivery that tell Riley what your shop is known for.
Create the shop and keep going
When the review looks right, continue to create the shop. The done screen links you straight into the Setup Assistant so you can keep the momentum going - including a direct link into the email identity step, where you set up order confirmations to send as your shop.
One more convenience: your new shop is auto-linked to your sign-in email on your next login. Sign in with the same address you used here and the dashboard opens on your shop, no extra pairing step.
Adding a second location
Already running a shop on BloomLine? The same website-scan wizard doubles as Add location. Pick it from the dashboard sidebar, scan the second location's site, and review it the same way.
If the scan misses something
Do not worry about perfection at this stage. Everything the scan captures can be edited later in the dashboard - delivery zones and rules live in the Shop info tab, and the Knowledge step of the Setup Assistant is the place for anything that is not on your website at all.
Still stuck? Submit a ticket from this help center and we'll take it from there.
Was this article helpful?
That’s Great!
Thank you for your feedback
Sorry! We couldn't be helpful
Thank you for your feedback
Feedback sent
We appreciate your effort and will try to fix the article